
Description
How it Works
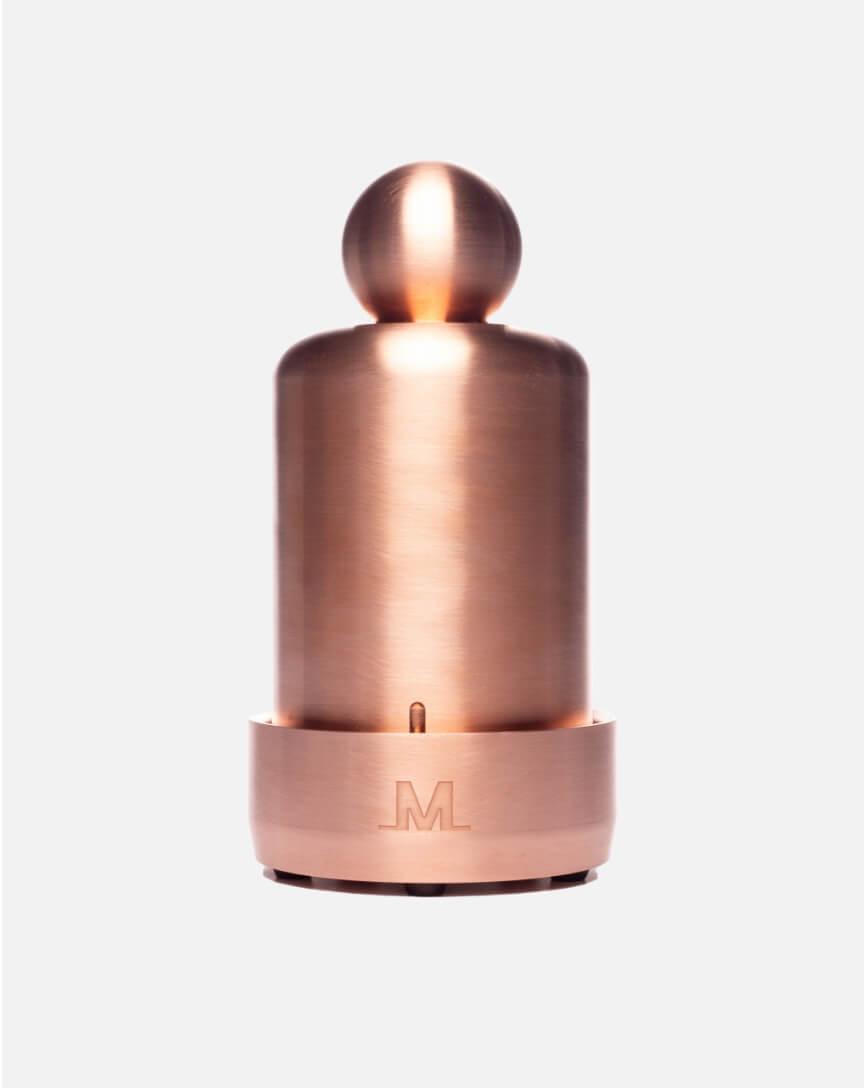
To use Meltdown, simply slide the top off, place the ice cylinder within, and replace the cover. Due to the weight and conduction of the solid copper design, Meltdown begins the ice ball-making process immediately.
As Meltdown forms an ice ball, meltwater is channeled down the sides of the device along four cascading grooves designed into the sidewall.
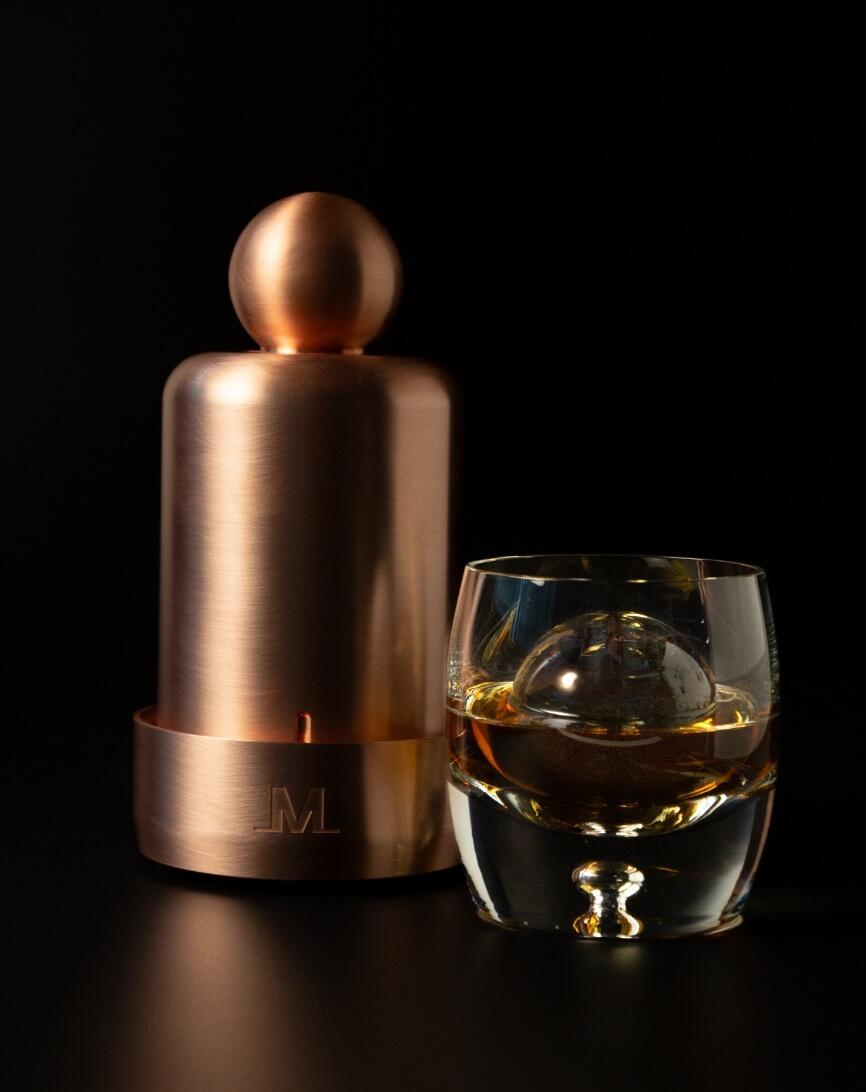
In one minute (assuming the device is room temperature), you’ll have a pure and beautiful ice sphere that’s ready for your cocktail.
The runoff water is captured in Meltown’s CatchAll™ Base, so you can pour it away before making another ice ball.
Because copper retains cold temperatures, you should run it under warm water or allow it to warm on its own prior to making additional ice balls.
How it Works
To use Meltdown, simply slide the top off, place the ice cylinder within, and replace the cover. Due to the weight and conduction of the solid copper design, Meltdown begins the ice ball-making process immediately.
As Meltdown forms an ice ball, meltwater is channeled down the sides of the device along four cascading grooves designed into the sidewall.
In one minute (assuming the device is room temperature), you’ll have a pure and beautiful ice sphere that’s ready for your cocktail.
The runoff water is captured in Meltown’s CatchAll™ Base, so you can pour it away before making another ice ball.
Because copper retains cold temperatures, you should run it under warm water or allow it to warm on its own prior to making additional ice balls.
Solid Copper Construction – Pinless Design
Most ice ball presses use pins that guide the cover down the press, but pins present two potential flaws: First, pins can cause “chattering” since ice does not melt uniformly. So, as the top of the press descends, if the pins are not perfectly aligned, they catch on the top of the press. Secondly, if that ice ball press is dropped, the pins are weakened and can also be damaged.
Meltdown features a pinless design with the cover riding in grooves engineered into the base. Our design features three pieces of solid copper with self-guiding grooves assuring alignment to protect your investment.
Cleaning Instructions
DISASSEMBLY INSTRUCTIONS
Step 1 Separate your Meltdown. Place the HoverCover top section as shown. Place the CatchAll™ Base bottom section upside down on a soft towel.
Step 2 Using a 7/64” hex wrench, remove all three (3) center bolts holding the CatchAll™ Base to the Middle Section. With bolts removed, carefully separate sections and place them on a soft towel for cleaning.

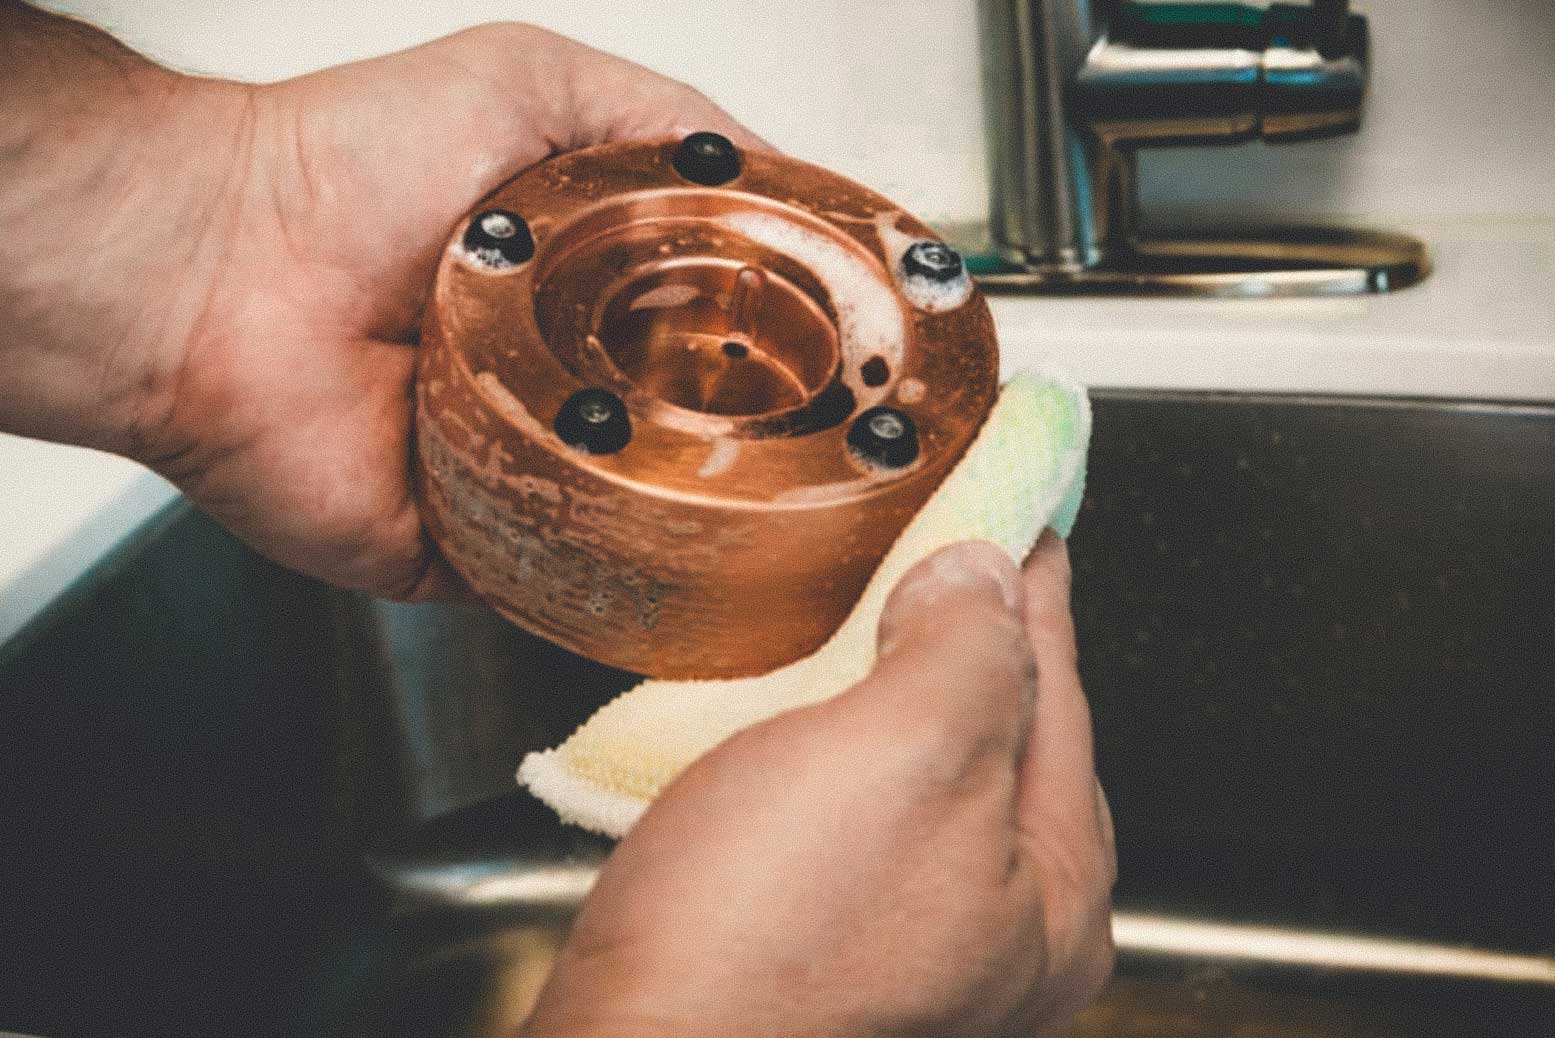
CLEAN & RINSE
Step 3 Thoroughly wet the non-scratch sponge (we recommend Scotch Brite Dobie Non-Scratching Cleaning Pads) and Meltdown piece to be cleaned. Place cleanser (Wrights or Chore Girl copper cleaner) on damp sponge and use to clean each piece of your Meltdown.
Using minimal force, scrub around each piece of your Meltdown for 30-40 seconds or until tarnish is removed.
Thoroughly rinse each piece after cleaning. Re-apply cleanser to the sponge as you start to clean each piece of your Meltdown.
Cleaning note- For best results, follow the round contour of the Meltdown pieces when scrubbing with sponge.
FINAL POLISH & ASSEMBLE
Step 4 After cleaning and rinsing are completed, use a soft towel to dry and polish each piece of your Meltdown.
Step 5 Carefully place CatchAll™ Base bottom section back on Middle Section and add three (3) bolts to holes for re-assembly.
Assembly note Make sure the trickledown groove is centered with the Meltdown logo before tightening bolts in place. Be careful not to overtighten bolts.
Step 6 Place HoverCover™ top section back on assembled CatchAll™ Base bottom section and enjoy your next drink with the Meltdown Ice Ball Press.

Frequently Asked Questions
What size ice balls does the Meltdown Mogul make?
The press makes 2.5 inch diameter ice spheres
How often do I need to clean my Meltdown ice ball press?
It is a matter of preference. Copper will tarnish over time when exposed to oxygen and humid air. Many owners of the Meltdown prefer the authentic tarnished look that comes with age. When you want to restore the shine to new, simply follow the cleaning instructions on this site.
How do I make consecutive ice balls on the Meltdown ice ball press?
The Meltdown works best when it is at room temperature. When making consecutive ice balls, simply run the entire Meltdown press under warm water for 15-30 seconds. You are now ready to make your next ice ball.
Can I make multiple Meltdown ice balls ahead of an event?
Yes, you can pre-make and freeze ice balls from your Meltdown ice ball press, so they’re ready whenever you need them.
My Meltdown “locks up” when I make an ice ball. How do I avoid this?
This may occasionally occur if you leave the Meltdown cover in place after the ice ball has been formed because melted water can produce a vacuum seal. But thanks to the vents in Meltdown covers, you can avoid “lockup” by removing the cover as soon as it completes its descent and reaches the drain base.
Why is the Meltdown Mogul so expensive?
Each Mogul is custom-made by American craftsmen from solid, high-end copper, requiring a three-hour process. They are also created in limited quantities (not mass-produced like other products) so the quality is impeccable, and the copper will last a lifetime.
What makes the Meltdown better than other ice presses?
Made from 99.8% solid copper, American-made Meltdown makes exquisite ice balls. Copper is 1.7 times more conductive than aluminum and three times heavier, so when you use Meltdown, the extreme conductivity and weight of the solid copper press effortlessly melts and molds the ice. The pinless design means there’s nothing to break.
Do you recommend distilled water or another type of water?
Distilled and “purified “ water (produced through reverse osmosis) can actually deliver substandard results. Our recommendation is to try using your tap water first. If that doesn’t create the clarity or taste you desire, we suggest bottled spring water, available at most grocery and convenience stores.
How do I use the Vamoose clear ice device?
Pour tap water or bottled spring water into the Vamoose to the fill line and then place it in the freezer. When ready to make your ice ball, remove the ice from the Vamoose device and the silicone clarity cup. Let it sit for 3–5 minutes, allowing the ice to acclimate before placing it into the Meltdown. The ice will become a little wet on the outside, which prevents thermal shock that can cause fractures in the surface of the ice ball. For best results, use the ice ball within 24 hours of freezing and tongs to transfer it from the Vamoose to the Meltdown press.


